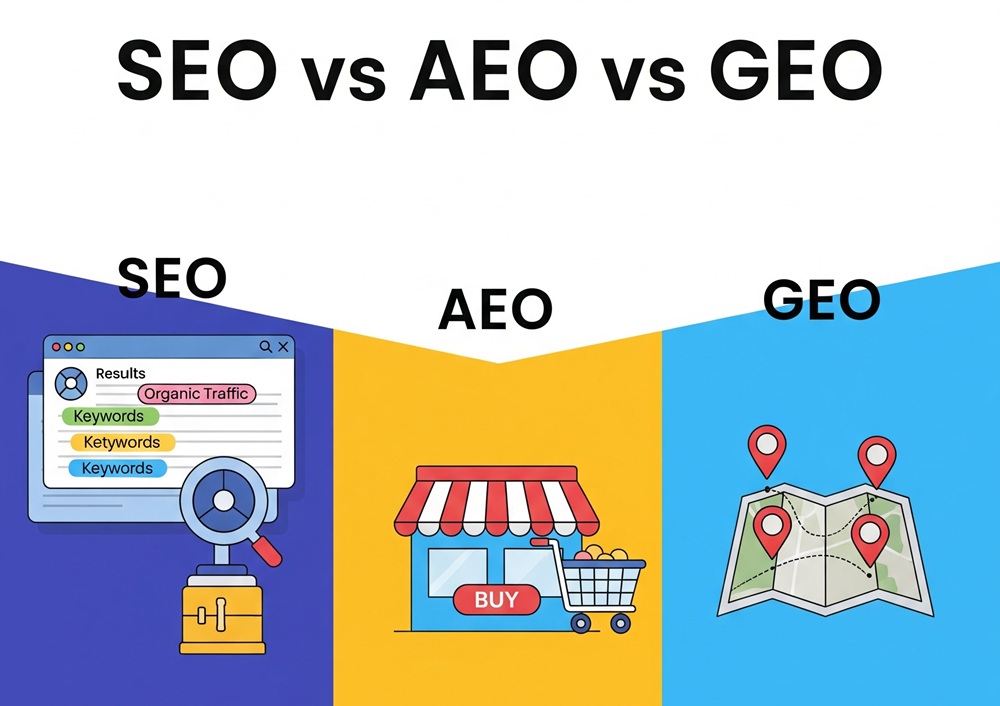
Showing up in the digital landscape is half the battle. How you show up covers the rest that can make all the difference. Entrepreneurs, content creators, and brands strive to be everywhere to capture their target audiences. That’s where you’ll stumble upon several acronyms – SEO, AEO, and GEO.
They’re optimization strategies to open a distinct door to discoverability. SEO refines search engine presence, AEO adapts for voice and AI assistants, and GEO harnesses locations to connect with users. This article breaks down the core differences between SEO, AEO, and GEO.
What is SEO (Search Engine Optimization)?
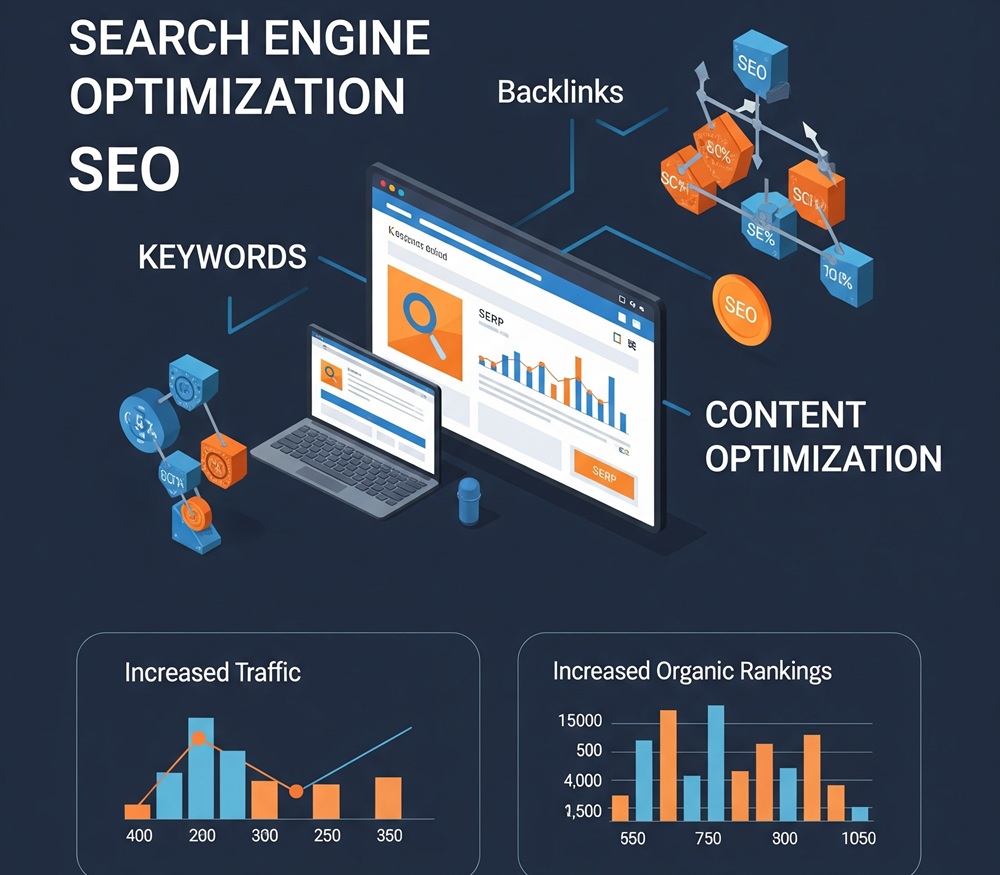
Search Engine Optimization (SEO) is the systematic process of enhancing a website’s visibility in organic (non-paid) search engine results. At the core, it’s about understanding what people are searching for online, the words they’re using, and the type of content they want to consume.
Key Features of Search Engine Optimization
- Keyword Optimization: It identifies and integrates high-intent keywords into your content. You can align content with what users are actively searching for.
- High-Quality Content Creation: SEO generates valuable, relevant, and engaging content that aligns with user intent. You can build trust, increase dwell time, and earn backlinks.
- On-Page SEO: Optimizing HTML elements, such as meta titles, headers, image alt text, and internal links, is possible. It enhances crawlability and improves user experience.
- Technical SEO: You can improve site speed, mobile responsiveness, secure HTTPS, and structured data. SEO ensures search engines can crawl and index your site efficiently.
- Backlink Building: Earn links from authoritative websites. Such measures increase domain authority and signal trust to search engines.
- Local SEO: It optimizes location-based searches using Google Business Profile, local keywords, and citations. You can drive foot traffic and local conversions.
Limitations Associated with SEO
- Time-Intensive Results: SEO is a marathon, not a sprint. It can take 3 – 6 months (or more) to see significant results. According to Transistor Digital, SEO is often unsuitable for businesses needing quick wins or short-term ROI.
- High Competition in Saturated Niches: Competing against established brands with massive backlink profiles and domain authority can be daunting. The top-ranking page on Google has 3.8x more backlinks than those in positions 2 – 10.
- Constant Algorithm Changes: Google updates its algorithm thousands of times per year, which can suddenly impact rankings. Major updates like Google’s Helpful Content Update have caused traffic drops of 20% –60% for some sites.
- Technical Complexity: SEO involves technical elements like crawlability, indexation, canonical tags, and structured data. 72.9% of websites are missing meta descriptions, and many have broken canonical tags.
What is AEO (Answer Engine Optimization)?
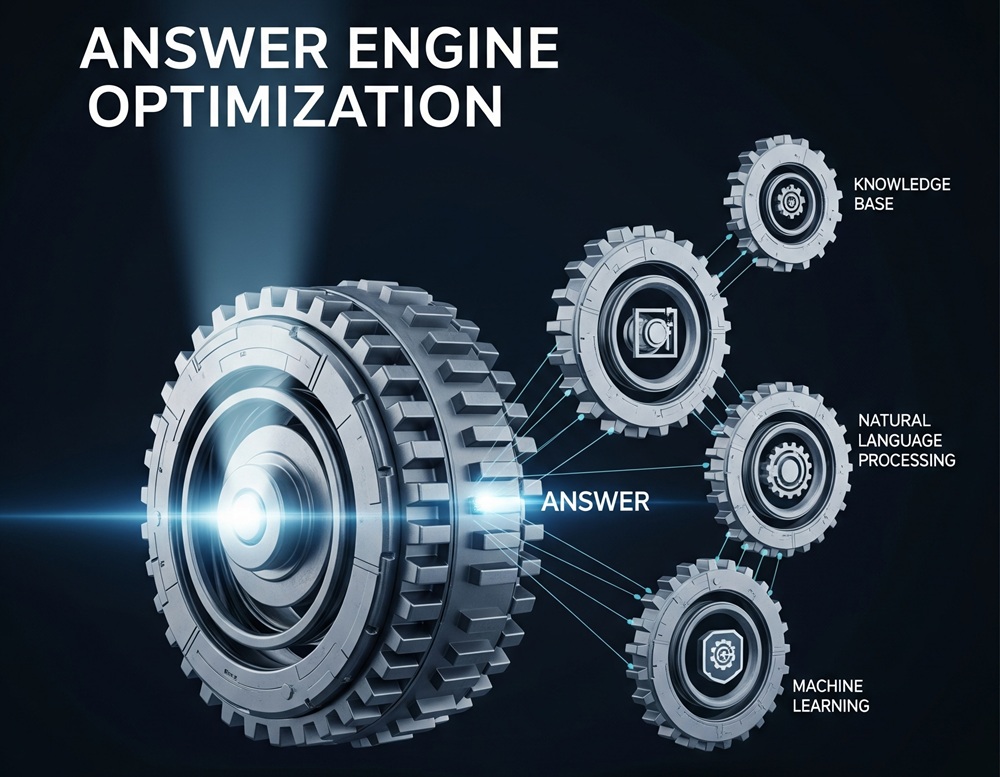
Answer Engine Optimization (AEO) is the process of structuring and optimizing your content to improve its visibility and relevance in search engine results. The content can be directly pulled and presented as an instant answer by AI-powered platforms. It’s the same for Google’s featured snippets, voice assistants (Siri or Alexa), and AI companions Copilot.
Key Features of AEO
- Direct Answer Optimization: It structures content to provide concise, accurate answers to specific user queries. You can increase your chances of being featured in Google’s Featured Snippets, People Also Ask, and voice assistant responses.
- Conversational Query Targeting: Optimize for natural language and question-based searches (“How do I…” or “What’s the best…”). It aligns with how users interact with voice assistants and AI companions.
- Structured Data and Schema Markup: Use schema (like FAQ, How-To, and Article markup) to help search engines understand and categorize content. You can enhance eligibility for rich results, voice answers, and AI-generated summaries.
- Content Formatting for Scannability: Employ bullet points, numbered lists, tables, and bolded headers to improve readability. AEO can increase the likelihood of being selected for AI-generated answers and zero-click results.
- Topical Authority and Semantic Relevance: Cover a topic comprehensively with related subtopics and semantically linked content. It builds trust with AI engines and increases visibility across multiple related queries.
- Zero-Click Search Optimization: Start creating content that satisfies the query without requiring a click. You can capture attention in search previews, AI summaries, and voice responses, even if users don’t visit the site.
- Multimodal Content Integration: Embed visuals, videos, and audio clips alongside text to support richer answers. Enhance engagement and increase the likelihood of being featured in AI-generated multimedia responses.
Downsides of Answer Engine Optimization
- Limited Control Over Answer Selection: You can’t guarantee that your content will be chosen as the featured snippet or voice assistant response, even if it’s well-optimized. Only 12.3% of search queries trigger featured snippets, and competition is fierce.
- Zero-Click Searches Reduce Site Traffic: AEO often satisfies the user’s query directly in the SERP or voice response, leading to fewer clicks to your website. Over 50% of Google searches now result in zero clicks.
- High Dependence on Structured Formatting: AEO heavily relies on structured content—bullet points, short paragraphs, and schema. This can limit creative freedom or storytelling formats.
- Algorithmic Volatility: Google and AI platforms frequently update how they select and display answers, which can cause your featured snippet to disappear overnight. Google makes thousands of algorithm updates annually, many of which affect snippet eligibility.
- Limited Attribution in Voice Search: Voice assistants often provide answers without clearly attributing the source, reducing brand visibility. Alexa might say, “The best time to post on YouTube is 6 PM,” without mentioning your brand or site.
What is GEO (Generative Engine Optimization)?

Geographic Engine Optimization (GEO) is the practice of optimizing your digital presence to appear in location-specific search results. It’s especially critical for businesses, creators, and content that serve or target users in specific geographic areas. GEO zeroes in on local intent, showing up when someone searches for “near me,” city-specific services, or regionally relevant content.
Key Features of Generative Engine Optimization
- Google Business Profile (GBP) Optimization: Claim and enhance your Google Business Profile with accurate NAP (Name, Address, Phone), business hours, photos, and reviews. It increases visibility in Google Maps and the local 3-pack, which appears above organic results.
- Local Keyword Targeting: Use geo-modified keywords like ‘best rooftop tent in London’ or ‘TikTok strategist in Manchester. ’GEO aligns your content with location-specific search intent, increasing relevance and click-through rates.
- Location Pages and Hyperlocal Content: You can create dedicated landing pages or blog posts for each city, neighborhood, or service area. Improved local SEO helps search engines understand your overall geographic relevance.
- Mobile Optimization for Local Search: Ensure your site is mobile-friendly, fast-loading, and easy to navigate. It can capture users searching on the go.76% of people who search for something nearby on their smartphone visit a business within 24 hours.
- Consistent Local Citations: List your business consistently across directories like Yelp, Bing Places, Apple Maps, and TripAdvisor. Such measures build trust with search engines and improve local rankings.
- Localized Reviews and Ratings: Always encourage and respond to customer reviews on Google and other platforms. 87% of consumers read online reviews for local businesses, and 73% only pay attention to reviews written in the last month.
- Geo-Targeted Ads and Campaigns: Run paid ads targeted by city, zip code, or radius. It drives immediate visibility and conversions in specific areas.
Negatives of GEO
- Limited Reach Beyond Local Boundaries: GEO is inherently location-specific, which means it may not help you reach audiences outside your immediate area.
- Inconsistent NAP (Name, Address, Phone) Data: Inconsistent business information across directories can confuse search engines and hurt local rankings.
- Dependence on Google Business Profile (GBP): GEO heavily relies on GBP, and any suspension, error, or negative review can drastically impact visibility.
- Review Management Challenges: Negative or fake reviews can harm your local reputation and lower your ranking in the local search results.
- Limited Analytics for Local Performance: GEO platforms often provide limited insights compared to full-scale SEO tools.
Key Differences: SEO vs AEO vs GEO
| Aspect | SEO (Search Engine Optimization) | AEO (Answer Engine Optimization) | GEO (Geographic Engine Optimization) |
| Primary Goal | Improving rankings in traditional search engine results (SERPs) | Providing direct and structured answers for AI and voice assistants | Enhancing visibility in location-based searches (map listings) |
| User Intent Focus | Informational, navigational, and transactional queries | Question-based, conversational, and voice search queries | Local and “near me” intent, often with high purchase readiness |
| Optimization Target | Search engines like Google | AI assistants (Siri and Alexa), featured snippets and zero-click results | Google Maps, local packs, and mobile search with geographic filters |
| Content Format | Long-form blogs, product pages, optimized metadata | Concise answers, FAQs, schema markup, bullet points | Location pages, Google Business Profile, local keywords, reviews |
| Key Techniques | Keyword research, backlinks, technical SEO, content quality | Structured data, semantic markup, conversational phrasing | NAP consistency, local citations, geo-targeted keywords, mobile optimization |
| Device Focus | Desktop and mobile | Voice-enabled devices, AI chat interfaces | Mobile-first, GPS-enabled devices |
| Performance Metrics | Organic traffic, keyword rankings, bounce rate, dwell time | Featured snippet wins, voice search visibility, zero-click impressions | Map views, direction requests, local pack rankings, call clicks |
| Time to See Results | Medium to long-term (3 – 6 months) | Medium-term, depending on snippet eligibility and AI adoption | Short to medium-term, especially with optimized GBP and local content |
| Best Use Case | Building long-term organic traffic and authority | Capturing voice search and AI-driven queries | Driving foot traffic, local leads, and hyperlocal brand awareness |
Each strategy plays a distinct role in discoverability. SEO builds your foundation, AEO makes you the answer, and GEO ensures you’re found by the people closest to you.
Which One Should You Focus On?
SEO is the best option for –
- Blogs, product pages, and evergreen content.
- Businesses targeting national or global audiences.
- Brands building thought leadership.
Prioritize SEO when –
- You’re building a content library or knowledge base.
- You want to reduce dependency on paid ads.
- You’re targeting users who type queries into search engines.
AEO seems the best option for –
- Question-based content (FAQs, how-tos, definitions).
- Brands targeting mobile and voice-first users.
- Creators optimizing for AI tools like Copilot, Gemini, or ChatGPT.
Prioritize AEO when –
- You want to rank in voice search or AI-generated answers.
- You’re targeting mobile-first or multitasking users.
- You’re building authority through direct, structured answers.
GEO is the best option for –
- Brick-and-mortar businesses or service providers.
- Creators or consultants targeting specific cities or regions.
- Products with local relevance (car camping gear in Galle).
Prioritize GEO when –
- You want to drive foot traffic or local leads.
- You’re targeting “near me” or city-specific queries.
- You’re building regional authority or trust.
How to Implement SEO, AEO, and GEO Together
Step 1: Start with a Strong SEO Foundation
Conduct keyword research using tools like Ahrefs or SEMrush. Optimize on-page elements: meta titles, headers, image alt text, and internal links. Ensure technical SEO is solid: fast load times, mobile responsiveness, HTTPS, and crawlability.
Step 2: Layer in AEO for AI and Voice Discovery
Use question-based headings (e.g., “What is the best time to post on TikTok?”).Provide concise answers (40–60 words) immediately after each question. Add FAQ schema and How-To markup to help AI understand your content. Format content with bullet points, tables, and short paragraphs.
Step 3: Integrate GEO for Local and Mobile Visibility
Claim and optimize your Google Business Profile with accurate NAP, photos, and reviews. Use geo-modified keywords like “TikTok strategist in London” or “car camping gear near me. ”Create location-specific landing pages for each city or region you serve. Add Local Business schema and ensure consistent citations across directories.
Step 4: Create Content That Serves All Three
Write a blog post titled “Top 5 TikTok Posting Times in Colombo (2025 Guide)”.Optimize for “TikTok posting times 2025.”Include a 50-word answer to “What’s the best time to post on TikTok?” Mention Colombo-specific trends and include a map of your consulting office.
Step 5: Track, Test, and Tweak
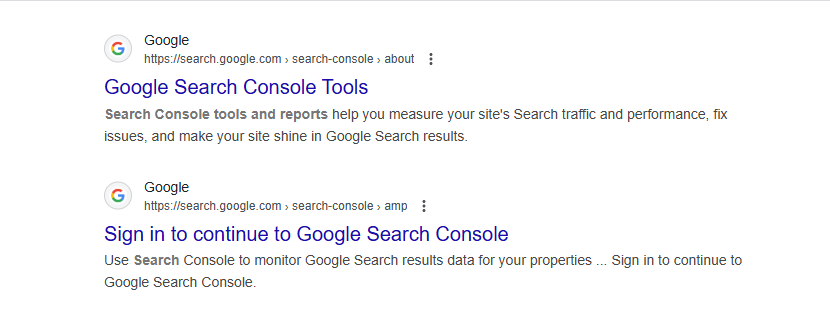
Get Google Search Console for SEO and AEO performance. Google Business Profile Insights can provide geographic metrics (calls, directions, requests).Google Analytics 4 (GA4) tracks conversions and behavior flows. SEMrush monitors featured snippet wins and local pack rankings.
Visibility isn’t about being everywhere; it’s about being where it matters most. SEO guides users through search queries, AEO ensures you’re the voice assistant’s top answer, and GEO puts you on the map literally. Still, each strategy plays a unique role in how and where your audience finds you.
Contact Tectera a SEO company in Toronto for SEO, AEO & GEO services in Toronto.