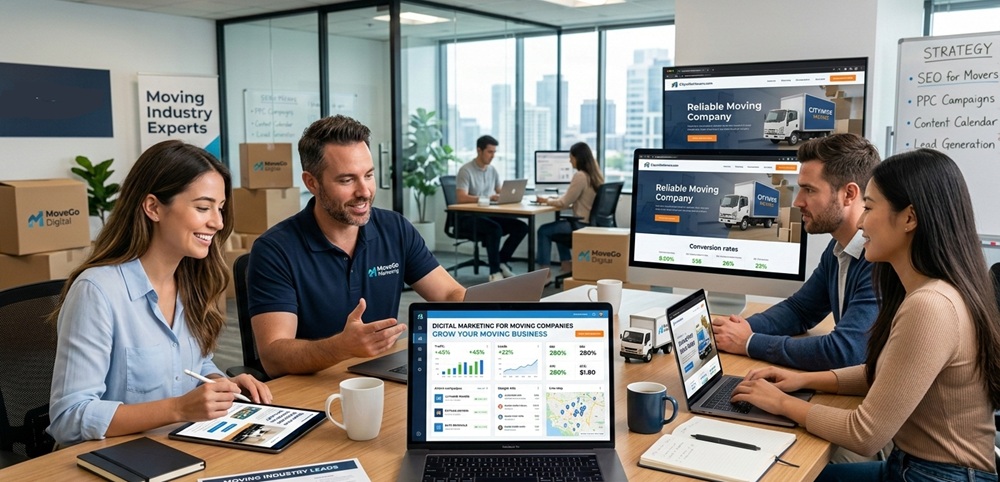
Looking for digital marketing for moving companies?
The moving industry is as diverse as the journeys it supports. It can range from local household moves and long-distance relocations to office transitions and even international transfers.
Table of Contents
ToggleCustomers need reliable movers, often on short notice. With countless companies competing for attention, standing out in this crowded marketplace has never been more critical.
This article guides through the digital marketing landscape specifically for moving businesses. Explore proven strategies, smart budgeting, and lead generation tips designed to convert.
Understanding the Moving Industry Buyer Journey
How Do Customers Search for Moving Services?
The moving industry is unique because customers often face urgent needs—whether it’s a sudden job relocation, a lease ending, or an office move with strict deadlines. Such urgency creates a short decision window, typically just a few days to a couple of weeks.
- Comparison Behavior: Research shows that most customers compare 3–5 moving companies before making a booking. They look for clear pricing, transparent service offerings, and fast response times.
- Trust & Reviews: In fact, over 90% of consumers read online reviews before hiring a local service provider. Positive Google ratings and testimonials often outweigh even competitive pricing.
- Transparency Matters: Hidden fees or vague quotes are deal-breakers. Customers expect upfront cost breakdowns, especially for long-distance or international moves where expenses can escalate.
Stages of the Buyer Journey
- Awareness (Searching Options)
They type queries like “best movers near me” or “affordable office relocation services”. Movers should invest in SEO and Google Ads to appear at the top of search results.
- Consideration (Comparing Quotes)
They compare pricing, service inclusions (packing, insurance, storage), and responsiveness. Offering instant online quotes or chat support can dramatically improve conversion.
- Decision (Booking)
Reviews, ratings, and clear contracts heavily influence this stage. Highlighting certifications, insurance coverage, and customer testimonials builds confidence.
Define Your Target Market
Digital marketing for moving companies is not one-size-fits-all. The messaging, platforms, and offers must align with the type of moving service provided.
A family relocating across town has very different needs than a multinational corporation relocating its headquarters overseas. By defining your target market clearly, you can tailor campaigns that resonate, build trust, and convert leads more effectively.
Types of Moving Services and Their Target Segments
| Service Type | Primary Target Segments | Messaging Focus |
| Residential Moving | Families, homeowners | Reliability, care for belongings, stress-free experience |
| Apartment Relocation | Students, young professionals | Affordability, speed, flexibility |
| Office/Commercial Moving | Corporate offices, SMEs | Minimal downtime, efficiency, confidentiality |
| International Relocation | Expats, multinational employees | Customs expertise, global reach, and insurance |
| Packing & Storage Services | Families, students, businesses | Safety, convenience, flexible storage plans |
Segment-Specific Messaging Strategies
01. Families
Needs: Safety, trust, stress-free relocation.
Messaging: Highlight family-friendly services, insurance coverage, and careful handling of valuables.
02. Corporate Offices
Needs: Efficiency, confidentiality, minimal disruption.
Messaging: Emphasize project management, IT equipment handling, and after-hours moving.
03. Students
Needs: Affordability, speed, flexibility.
Messaging: Promote budget-friendly packages, small-load moving, and short-term storage.
04. Expats
Needs: International expertise, customs clearance, and insurance.
Messaging: Stress global partnerships, multilingual support, and transparent fee structures.
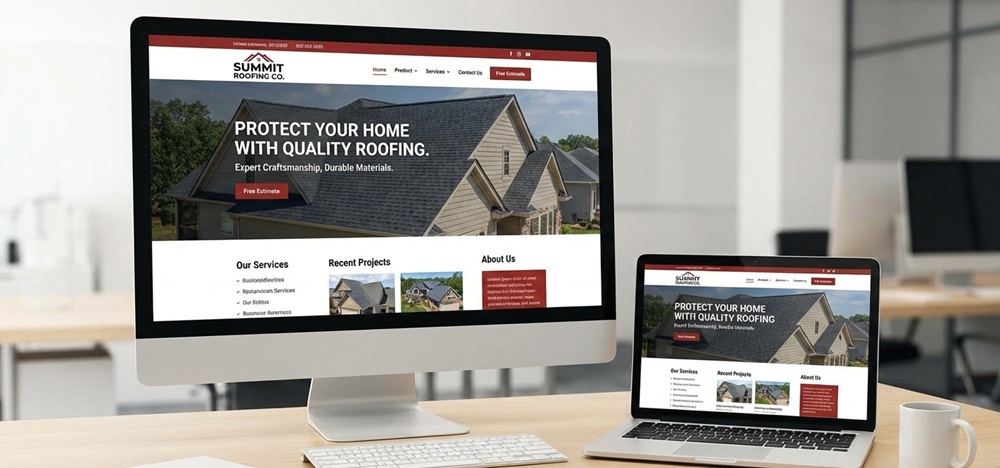
Build a High-Converting Website
In the moving industry, your website is often the first impression customers get of your business. A clean, professional, and user-friendly site signals reliability and competence—qualities people desperately seek when entrusting movers with their belongings.
Essential Pages Every Moving Company Website Needs
- Homepage – Clear value proposition, strong visuals, and a prominent “Get a Free Quote” button.
- Services Page – Separate pages for residential, office, international, and storage services to improve SEO and clarity.
- Service Areas Page – Helps local SEO by showing where you operate (e.g., “Movers in Dallas, TX”).
- About Us – Builds trust by showcasing company history, mission, and team photos.
- Testimonials & Reviews – Social proof is critical; highlight Google reviews and client success stories.
- FAQ Page – Answers common concerns about pricing, insurance, and timelines.
- Contact Page – Multiple contact options (form, phone, WhatsApp, live chat) to reduce friction.
Conversion Elements That Drive Bookings
- Instant Quote Form: Keep it above the fold. A buried form reduces conversions dramatically.
- Click-to-Call Button: Mobile users prefer one-tap calling; this can increase leads by up to 30%.
- WhatsApp/Chat Integration: Real-time communication builds trust and captures urgent leads.
- Trust Badges & Certifications: Display “Licensed & Insured” badges, Better Business Bureau logos, and local association memberships.
- Before-and-After Photos: Visual proof of professionalism reassures customers and differentiates you from competitors.
Local SEO for Moving Companies
Most moving service searches are local. Customers rarely look for movers outside their immediate area unless they’re relocating long-distance or internationally.
In fact, 46% of all Google searches have local intent, and 60% of smartphone users use “click-to-call” directly from local search results—making local SEO a critical driver of leads for moving companies.
Optimize for “Movers Near Me”
Customers often search with urgency, typing queries like “movers near me” or “best local movers”. Include these keywords naturally in your homepage, service pages, and meta descriptions.
Google Business Profile Optimization
Claim and fully optimize your Google Business Profile (GBP). Add accurate business hours, service areas, photos, and regular updates.
Add Service Area Pages
Create dedicated pages for each city or neighborhood you serve. It boosts local SEO and helps capture hyperlocal searches. Include testimonials from customers in that area to build trust.
Get Customer Reviews Regularly
Reviews are the lifeblood of local SEO. Encourage satisfied customers to leave Google reviews immediately after service. Respond to reviews—positive or negative—to show professionalism.
Local Keyword Targeting
Use keywords like “office movers in Dallas” or “student relocation services in Berlin”. Combine service type + location for maximum relevance.
Google Ads for Immediate Leads
Google Ads are one of the most effective tools for moving companies because they capture high-intent searches—customers actively looking for movers at the exact moment they need them. Google Ads deliver immediate visibility at the top of search results, often above organic listings.
Search Ads
Appear when users type queries like “best movers near me” or “office relocation services”. Best for capturing urgent leads.
Call-Only Ads
Designed for mobile users who want immediate contact. Over 60% of moving service searches happen on mobile, making call-only ads a powerful conversion tool.
Location-Based Targeting
Focuses ads on specific service areas. Essential for local movers who want to dominate their city or neighborhood. Combine with service area landing pages for higher Quality Scores and better ad relevance.
Keyword Strategy: The Heart of Success
- Target the Right Keywords: Focus on high-intent terms like “local movers near me,” “office relocation services”, or “international moving company”.
- Avoid Broad Keywords: Generic terms like “moving” or “transport” waste budget on irrelevant clicks.
- Expert Tip: Use negative keywords (“DIY moving,” “free moving help”) to filter out unqualified traffic.
Budget Considerations
- Set Realistic Budgets: With CPC averaging $6.40, a daily budget of $100 could generate 15–20 clicks, potentially 2–3 leads.
- Monitor ROI: Track cost per lead and adjust bids based on performance.
- Seasonality: Increase budgets during peak moving months (May–September in the US) when demand spikes.
Facebook & Instagram Ads Strategy
Unlike Google Ads, Facebook and Instagram ads excel at building brand awareness, nurturing leads, and retargeting prospects who have already interacted with your website.
They’re also highly effective for promoting seasonal discounts during peak moving periods (e.g., summer in the US, semester shifts in Europe, or holiday relocations in Asia).
- Customer Testimonials: Showcase real reviews with photos or short video clips. Builds trust and social proof.
- Moving Tips: Share bite-sized content like “5 packing hacks” or “Checklist for stress-free moving”. Positions your brand as helpful and trustworthy.
- Time-Lapse Moving Videos: Engaging visuals of a move from start to finish. Demonstrates efficiency and professionalism.
- Special Offers: Seasonal discounts (“10% off summer moves”). Limited-time promotions create urgency. Use carousel ads to showcase multiple offers or services.
Lower Intent but Strong Retargeting
- Lower Intent: Social media users aren’t actively searching for movers; they’re browsing. It means initial conversions may be lower compared to Google Ads.
- Strong Retargeting: However, retargeting website visitors with Facebook Pixel can be highly effective. Customers who visited your quote page but didn’t book can be reminded with tailored ads.
Content Marketing Strategy
Content marketing is one of the most cost-effective ways for moving companies to build authority, improve SEO visibility, and educate potential clients. Unlike paid ads that stop delivering once the budget runs out, content continues to attract leads long after it’s published.
Blog Ideas That Drive Engagement
- “How to Prepare for a House Move”: Step-by-step guides help families reduce stress.
- “Moving Checklist”: Printable or interactive checklists are highly shareable. Offer downloadable PDFs to capture email leads.
- “How Much Does Moving Cost?”: Transparency builds trust. Include breakdowns for local, long-distance, and international moves.
- “Packing Tips for Fragile Items”: Educational content that positions your company as an expert. Videos or infographics showing best practices increase engagement.
Benefits of Content Marketing for Movers
- Builds Authority: Publishing expert tips and guides positions your company as a trusted advisor.
- Improves SEO: Blogs targeting keywords like “local movers in Dallas” or “international relocation tips” help rank organically.
- Educates Clients: Informative content reduces customer anxiety and increases confidence in booking.
Expert Tips
- Consistency Wins: Posting 2–4 blogs per month improves SEO and keeps your brand top-of-mind.
- Diversify Formats: Use blogs, videos, infographics, and email newsletters to reach different audiences.
- Leverage Social Media: Share blog snippets on Facebook and Instagram to drive traffic back to your site.
- Measure ROI: Track metrics like organic traffic, time on page, and lead conversions to refine your strategy.
Video Marketing for Moving Companies
Video is one of the most powerful trust-building tools for moving companies. It provides visual proof of professionalism, efficiency, and care.
Those are the qualities that customers want to see before entrusting movers with their belongings. 96% of marketers consider video content essential to their strategy.
Behind-the-Scenes Operations
Show how trucks are prepared, how packing materials are organized, and how logistics are managed. Transparency builds confidence by showing customers that you operate professionally.
Team Introduction Videos
Introduce staff members with short clips highlighting their expertise and friendly personalities. Humanizing your brand makes customers feel more comfortable.
Customer Testimonials
Record satisfied clients sharing their moving experience. Social proof is more persuasive when delivered via video than text. Testimonial videos can increase conversions by 34%.
Packing Tutorials
Demonstrate how to pack fragile items, electronics, or furniture safely. Educational content positions your company as an expert.
Expert Tips for Video Marketing
- Keep It Short: Aim for 60–90 seconds for social media platforms like Instagram Reels or TikTok.
- Optimize for Mobile: Over 75% of video views worldwide happen on mobile devices.
- Use Captions: Many users watch videos without sound; captions ensure accessibility.
- Cross-Platform Distribution: Upload videos to YouTube for SEO, share snippets on Instagram/Facebook, and embed them on your website.
- Consistency: Post regularly—weekly or biweekly—to stay top of mind.
Referral and Partnership Marketing
In the moving industry, partnerships are one of the most cost-effective growth strategies. Many successful movers attribute a significant portion of their bookings to referrals from trusted partners such as real estate agents, property managers, and apartment complexes.
Real Estate Agents
Agents are often the first point of contact for families and individuals planning a move. Offer commission-based referrals or co-branded marketing materials.
Property Managers
Property managers oversee multiple tenants and often assist with move-ins and move-outs. Provide referral incentives or bundle services (e.g., cleaning + moving).
Apartment Complexes
High turnover rates in apartments mean consistent demand for moving services. Stick to cross-promotional flyers, digital ads in tenant portals, or exclusive resident discounts.
Commission-Based Referrals
Offer a fixed fee or percentage for every successful referral. Referral programs can increase customer acquisition by up to 30% in service industries. Keep the process transparent—partners should know exactly how and when they’ll be rewarded.
Cross-Promotional Strategies
- Co-Branded Campaigns: Share costs on local ads, social media campaigns, or community events.
- Joint Content: Publish blogs or guides with real estate agents (e.g., “Top 10 Moving Tips for New Homeowners”).
- Events: Sponsor open houses or apartment tours with moving discounts attached.
Long-Term Benefits
- Lower Marketing Costs: Partnerships reduce reliance on paid ads by tapping into trusted networks.
- Higher Quality Leads: Referrals are pre-qualified and more likely to convert.
- Brand Authority: Being recommended by trusted professionals enhances credibility.
- Sustainable Growth: Partnerships create recurring lead pipelines, especially in high-turnover markets like student housing or corporate relocations.
In today’s highly competitive relocation industry, digital marketing is the lifeline that keeps moving companies visible, credible, and profitable. Each strategy we’ve explored is a piece of the larger puzzle: building trust, capturing leads, and converting them into loyal customers.
Contact Tectera for digital marketing for moving companies.
Frequently Asked Questions
SEO improves your website’s ranking for keywords like “movers near me” or “office relocation services”. It drives organic traffic, reduces reliance on paid ads, and builds long-term visibility.
Google Ads captures high-intent searches from customers ready to book. Search ads, call-only ads, and location-based targeting deliver immediate leads.
Yes. Facebook/Instagram ads are excellent for brand awareness, retargeting, and seasonal promotions. Retargeting visitors with testimonials or offers can significantly boost conversions.
Essential: Homepage, Services, Service Areas, About Us, Testimonials, FAQ, and Contact. Conversion elements like instant quote forms, click-to-call buttons, and trust badges increase bookings.
Email campaigns nurture past clients with follow-up offers, referral discounts, and seasonal promotions. With an average ROI of $42 per $1 spent, email is one of the most cost-effective channels.