


Migration of a WordPress website is more like an integral part of launching your website. It’s a crucial step for a locally developed site that needs to be accessible to general audiences. The migration from localhost to a live server ultimately makes your work visible to the public.
However, erroneous or improper migration can result in devastating consequences. You may end up losing valuable data, information, and even content/resources. This guide gets you through the step-by-step process to accomplish a smooth migration without loss or downtime.
Table of Contents
ToggleWhy Migrate a WordPress Site from Localhost to Live Server?
- Making the website accessible to users worldwide.
- Testing and debugging locally before going live.
- Improving the overall performance and security.
- Reducing development costs before final deployment.
Methods to Migrate WordPress from Localhost to Live Server
There are two fundamental (universally employed) methods to migrate a WordPress site –
- Manual Migration – It requires the use of FTP and database transfer.
- Plugin Migration– It takes migration plugins (Duplicator or All-in-One WP Migration).
A. Manual Migration (Recommended)
It’s the most preferred way of migrating from localhost to live. This is because manual migration provides full control of the website to the owner(s). The process involves the following steps –
Step #01 – Preparing Local WordPress Files
- Navigate to the WordPress root directory on localhost.
- Compress all the files into a ‘.zip’ file for easier transfer.
- Extract the compressed files to your desktop folder(s).
Step #02 – Exporting Local WordPress Database
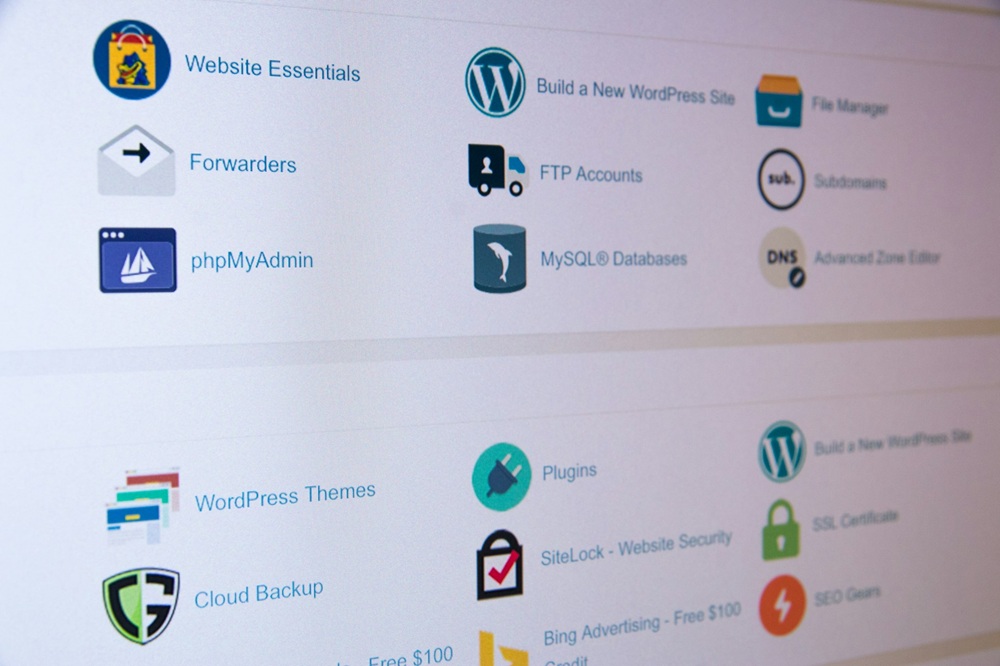
- Open ‘phpMyAdmin’ (http://localhost/phpmyadmin/).
- Select your current WordPress database.
- Click on the Export tab.
- Choose the Quick export method and SQL format.
- Click Download to save the ‘.sql’ file.
Step #03 – Uploading WordPress Files to the Live Server
- Connect to your hosting server using an FTP client (like FileZilla).
- Navigate to the ‘public_html’ folder (or WordPress installation directory).
- Upload the extracted WordPress files from your local machine to the live server.
Step #04 – Creating a New Database on the Live Server
- Log in to your cPanel.
- Navigate to MySQL Databases.
- Click on Create a New Database.
- Enter a name and click Create.
- Create a New User.
- Assign a username and password.
- Add to the database with privileges.
Step #05 – Importing the Local Database to Live Server
- Open phpMyAdmin from cPanel.
- Select the new database you created.
- Click the Import tab.
- Choose the ‘.sql’ file exported earlier.
- Click Go to upload the database.
Step #06 – Updating ‘wp-config.php’ File
- Locate ‘wp-config.php’ on the live server.
- Open it with a text editor.
- Update the database credentials.
- Save and close the file.
Step #07 – Updating Site URL in the Database
- Open phpMyAdmin in cPanel.
- Go to the wp_options table.
- Locate the site URL and home rows.
- Update the values to the live domain.
Step #08 – Configuring Permalinks and Testing Your Site
- Log in to your WordPress admin panel (https://yourlivedomain.com/wp-admin).
- Go to ‘Settings > Permalinks,’ select your preferred structure, and save changes.
- Check all pages, links, and media files to ensure everything is working correctly.
B. Plugin Migration (Simple for Beginners)
Beginners are likely to prefer an automated process instead of a manual one right away. You can rely on plugins like Duplicator or All-in-One WP Migration.
Step #01 – Installing and Exporting Website
- Install the duplicator on your local WordPress site.
- Navigate to ‘Duplicator > Packages > Create New.’
- Follow the steps and generate a ZIP archive for the site.
- Download the archive file and the installer.php file.
Step #02 – Uploading to Live Server
- Use FTP/cPanel to upload the installer.php and the ZIP.
- Upload both files to the ‘public_html’ folder.
Step #03 – Running the Installer
- Open your browser and go to ‘https://yourlivedomain.com/installer.php.’
- Follow all the on-screen instructions to unpack and set up the website.
- Also, provide the database credentials and complete the site migration.
Step #04 – Finalizing and Testing
- Log in to WordPress Admin on your live server.
- Go to ‘Settings > Permalinks,’ and re-save settings.
- Check the site to ensure everything is working fine.
Common Issues and Fixes
- For broken links, update site URLs in phpMyAdmin (wp_options table).
- For errors establishing database connection, verify database credentials in wp-config.php.
- For missing images, ensure the uploads folder is appropriately transferred.
- For internal server error (500),reset the ‘.htaccess’ file and increase current PHP limits.
It’s impossible to think of going live with a locally developed website without appropriate migration. Migrating a WordPress site from localhost to a live server may seem somewhat complex, especially with the manual approach. Following the right steps should help you complete the task successfully without any issues. Unless you’re having serious troubles, you should go for manual migration as recommended.
Contact Tectera a web development company in Toronto for more details.
